Showing posts with label nails. Show all posts

Saturday, February 20, 2016

Wispy Blue Nails

I created this wispy nail art that has a sort of cloudy/ombre effect and I really like how they came out. I used a makeup sponge which I ripped in half in order to stamp on thin layers of the blue nail polish until I built up layers that created the sort of gradient effect on the tip of each nail. Ripping the sponge in half helps expose an more uneven texture of the sponge that allowed the pattern to come out more random and messy looking (making this an easy design to do with your non-dominant hand).
I used a light nude/pinkish shade (this is actually meant to be a French tip manicure base, so it was very sheer and light) as the base for all of my nails.
For the blue, I chose a very opaque periwinkle blue shade (Hello Kitty in Blueberry, from Sephora which I don't believe is sold there anymore). I painted small amounts on the sponge for every nail, dabbing any excess polish off onto a piece of paper in order to adjust the sheerness of each layer being added on. 
I finished off the nails with a matte topcoat from Wet n' Wild. This matte topcoat dries quickly and looks great, however the matte effect doesn't last more than a couple of days as oils from the skin, food, and other things starts to make the nails look shiny again.
Not shiny at all, contrary to the wildshine name. Also only $1!


Monday, June 8, 2015

DIY Marbled Nail Art Stickers

I created this marbled nail art using a slightly different water marbling technique than what you normally see, as inspired by this Instagram post by Sveta Sanders. Instead of dipping your finger into the wet nail polish while it's still on the water, I let it dry for about 5-10 minutes, removed it from the water, and then cut it up and applied it to my nails using more nail polish. Unlike her video, I chose to swirl the colors using a toothpick, which I think made it harder to pick up, although I like the different effects you can get by doing this.
The colors I used were: Air by Sally Hansen, Blueberry from the Hello Kitty Sephora line, Splash of Grenadine by Essie and some unknown sheer sparkly pink possibly from Walmart (it's old). Air also came out pretty sheer which also gave in interesting effect when placed on the nail. My base color is Sorbet also by Sally Hansen. 
I recommend keeping a paper towel nearby to remove extra nail polish from your toothpick when swirling since it can get messy or in case you mess up and need to remove the polish (like I did, many, many times).
I let them dry on a paper towel first before applying them. They came out sort of warped since some of the colors were a lot thinner than others and the swirling really distorts the shape. I have no idea how girls on Instagram get their water marbles to look so perfect.
Please ignore my cuticles. 


Monday, May 19, 2014

Strawberry Nail Art


Here are pictures of my nails which were inspired by strawberries! It was really easy to do and didn't take long. It's not that hard to do with your non-dominant hand either since it doesn't need to look perfect.
Spot the watermelon!
 I used an Urban Outfitters brand nail polish in the color Cupcake (light pink with a cream finish) for the base and added a pink glitter for a shimmery finish, and partially because the Urban Outfitters nail polish did not have a very smooth and opaque finish, even after multiple coats. I used a white nail art polish to ad some white dots and then made the leaves by making random strokes at different angles near the tips after everything dried. Lastly I topped everything off with Sally Hansen's Diamond Strength nail polish in Flawless.

LA Colors Art Deco in white, Urban Outfitters brand nail polish in Cupcake, Zoya in Josie, and Pure Ice in Lilac Mist (possibly this one now?).


Saturday, May 17, 2014

Illamaqua Glitterati Nails

I recently painted my nails with Glitterati from an Illamasqua nail polish duo. Glitterati is a deep violet/maroon color with flecks of variously sized duo-chrome glitters. The nail polish needs about two coats to reach full opacity, although I went for three coats on some nails. The finish isn't as shiny or glossy as one might expect, and it isn't completely smooth either, although adding a top coat usually fixes this problem. I like Seche Vite as a top coat for this nail polish, however mine has almost dried out and is pretty stringy. I used Sally Hansen's diamond strength in Flawless for all most of my nails instead.
With one coat, the nail polish is almost opaque, but you can see where the color is thinner.


The duo also comes with a deep teal called Viridian. It's a really pretty deep teal/jade color with a very shiny slightly metallic finish, although I find that this one chips a little quicker than some other nail polishes. Glitterati tends to last pretty long, although that might partially be the result of always using extra top coat with it. 
This duo cost $25, although I believe this was a limited edition nail polish duo and is no longer available.

Thursday, April 10, 2014

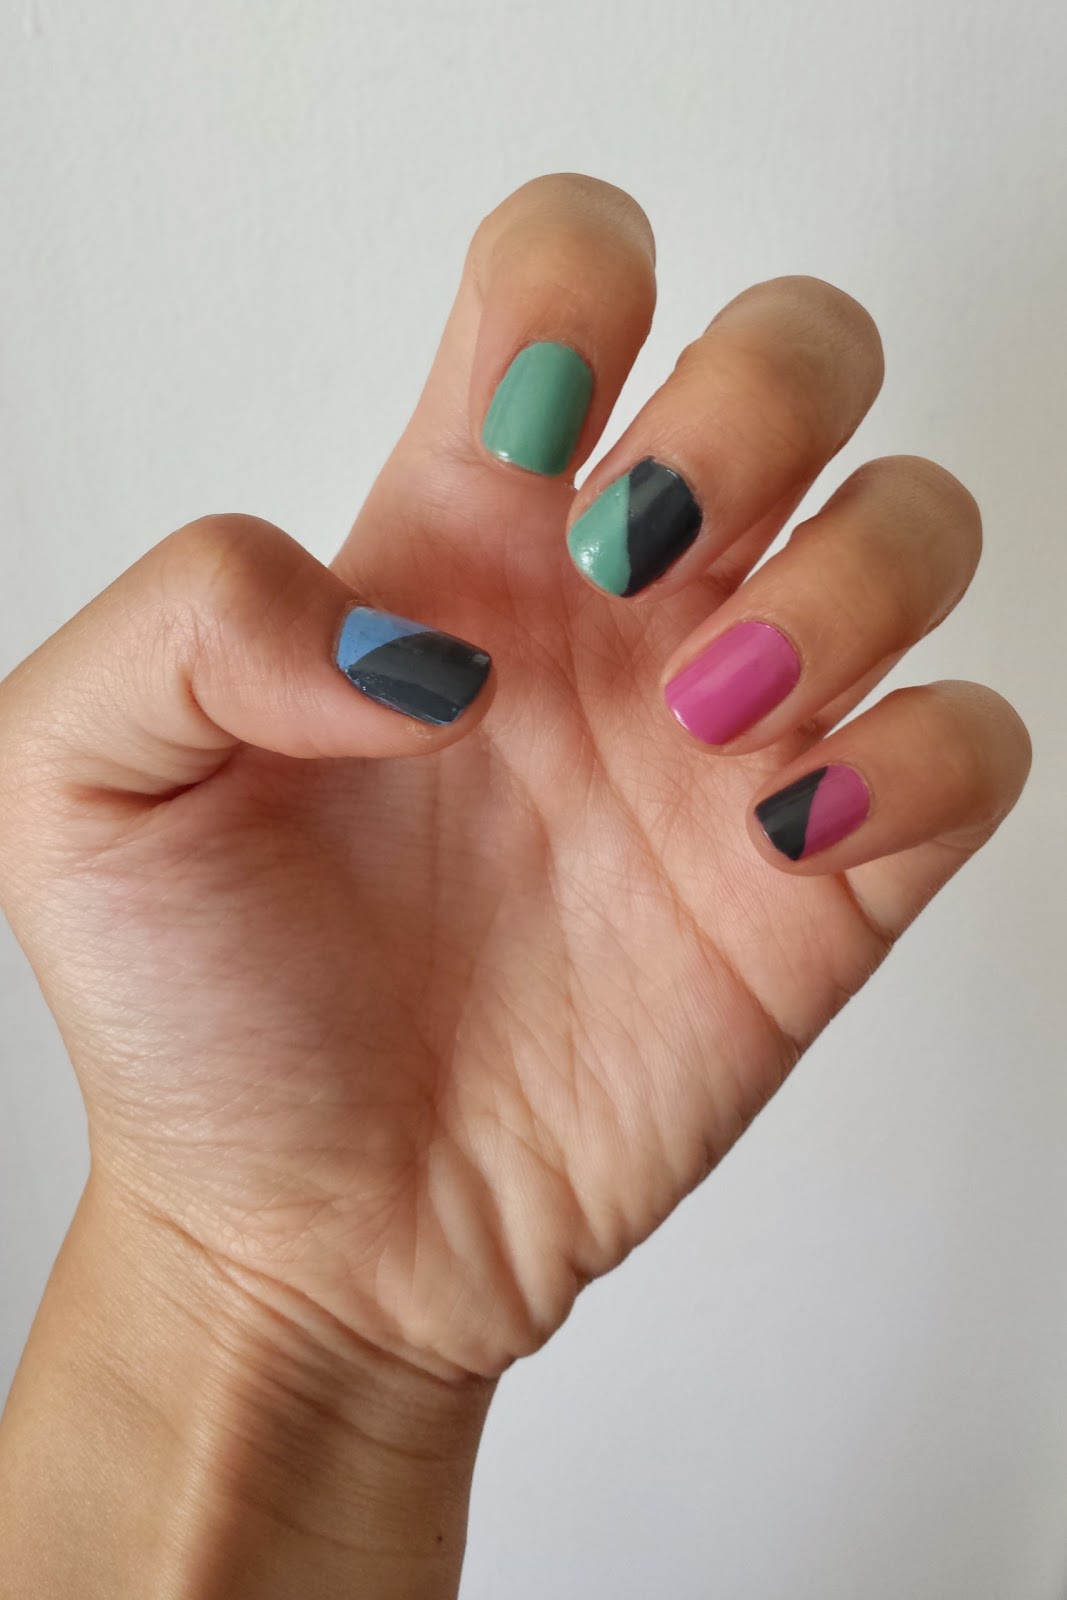
Spring Nails-Pastels and Simple Geometry

pastel spring nails

Some rather simple nail art I did using some of my favorite spring colors and my favorite gray nail polish. I simply added the gray triangles on after painting on the base colors by first making a diagonal stripe from one corner to another and then filling it. It's a little tricky to do free-hand when you're using your non-dominant hand, but I've had success in the past using pieces of tape as a guideline, making sure to remove some of the tape's stickiness first and allowing the base coat to fully dry. 

essie, sephora, and hello kitty nail polishes

The colors I used are Break a Leg-Warmer by Sephora by OPI, Splash of Grenadine and Turquoise & Caicos by Essie, and Blueberry from the Hello Kitty line at Sephora (possibly discontinued?), all colors with cream finishes. Blueberry and Break a Leg Warmer have great opacity while the two Essie nail polishes seem to need at least two or three coats each.  I used Sally Hansen's Diamond Strength top coat in Flawless to finish off my nails. 

pastel nails

Wednesday, March 19, 2014

Red/Black/Gold Nails


Simple nail art with a diagonally striped accent nail. I used a red China Glaze nail polish and Blackout by Sally Hansen (the gold I borrowed from a friend, I don't know what brand it is!). On my ring fingers I started by painting them completely red, then adding a black triangle, and then topping it off with the gold triangle, letting it dry in between.

Saturday, December 7, 2013

Green and Black Confetti Nails (with Formula X Xplosives Top Coat)


I recently got a new cream finish green nail polish from Zoya in the color Josie and tried the polish out. The opacity is great and it has hardly chipped since I've first put it on nearly a week ago. Black Friday shopping I happened to stop by Sephora and checked out the new Formula X nail polishes and well and tried out one of their Xplosives Top Coats in the color Bionic. It has light green and black confetti in pieces of varying sizes and gives a really cool paint splatter sort of effect. Later I added black french tips to my pointer fingers using Black Out by Sally Hansen (Hard as Nails Xtreme Wear formula) and topped off my nails with Sally Hansen's Diamond Strength topcoat in Flawless.
Zoya Nail Polish ZP667  Josie  Green Nail Polish Cream Nail Polish
Zoya-Josie
Bionic
Formula X-Bionic

Tuesday, August 20, 2013

Grey and Purple Glitter Nails

My most recent nails that I painted yesterday. Its a pretty simple look using Sephora by OPI's Break a Leg Warmer and Tokidoki's Stellina. 
The glitter is pretty opaque even without any sort of base color, although the finish isn't as shiny as one would expect. It definitely needs a top coat to give a shiny, glittery finish.

Monday, August 5, 2013

Blue and Magenta Nail Art with a Butterfly


I painted my nails and this time I went with a pretty simple design with aimless grey dots and fun color combo. I used Essie's Splash of Grenadine, Sally Hansen's Smooth and Perfect in Air, and for the dots, Sephora by OPI's Break a Leg Warmer.


Update: I found a butterfly temporary tattoo, so I put it on my thumbnail, 'cause what else am I supposed to do with it? In retrospect, it should probably be facing the other direction. 

Thursday, August 1, 2013

Random Collection of Nail Art

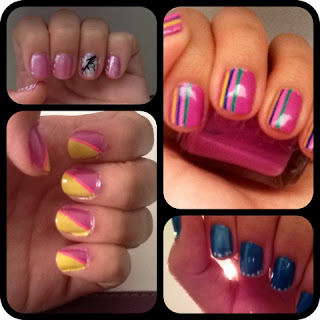
This is more for me to remember my past nail art designs, but here's a collection of my own nail art with varying photo qualities. 

Pink and yellow triangle cutouts
Glittery geometric nail art
Pink and white hearts

Christmas glitter nails

Yellow and turquoise nails
Grey and silver ombre with glitter
Cherry blossoms, stripes, two tone, and polka dot French tips
Valentine's Day hearts
Purple glitter

Green and silver textured nails
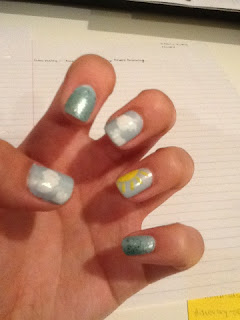
Sun, clouds, and glitter